This week I got my hands on a Raspberry PI Pico, unintentionally. I had plans to purchase a Raspberry PI zero for a different project, but managed to cock up the Amazon order. It turns out the Raspberry PI Zero 2 and its predecessor are out of stock everywhere, anyway.
The Pico is actually a Microcontroller — not what I needed — it doesn’t have its own operating system. I managed to pick it up for £6 but its RRP is $4. It contains a dual-core ARM Cortex-M0+ processor with 246kb RAM and support for 16MB of off-chip Flash.
Rather than getting bogged down in my mistake I decided to have a play and see how the Pico worked.
The plan
My little office can get very hot, it’s a small space with a meaty computer. I’m like a frog you see, I don’t realise I’m getting hot before it’s too late. I get so engrossed in whatever I’m doing — coding/reading/blogging/dribbling — that I don’t realise I’ve been sweating for the past half an hour. I need a solution!
I have a breadboard, some LED bulbs a thermistor, and a good attitude.
Pico Python
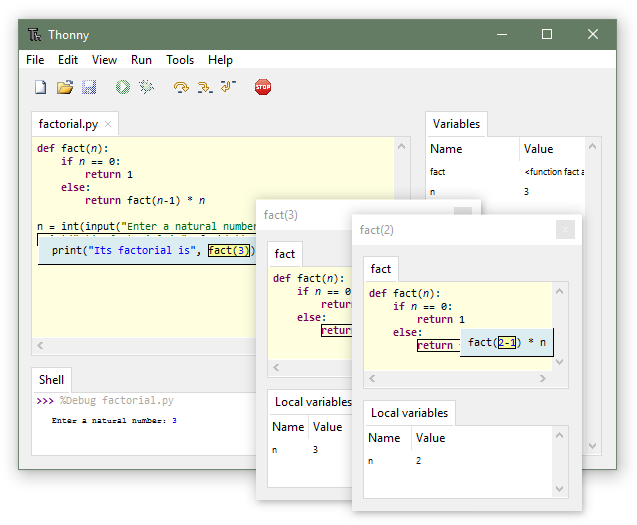
Once the Pico is connected to my PC using a micro-USB I can use Thonny which allows me to write python and execute it on the microcontroller.
At the bottom right of the editor you can choose where to run the code:

Once you’re happy with your program you can save it in a file on the Pico with the name main.py, and then whenever your controller has power your program will run, beautifully simple.
The board

The pins are unfortunately labelled on the bottom of the Pico, don’t ask me why. You’ll need this diagram, unless you want to pull it out of the breadboard every 5 minutes to find which Pin you’ve connected.
I connected two LEDs, one red and one yellow to the pins GP13 and GP14, to do this in python all you need is the following:
from machine import Pin
redLed = Pin(14, Pin.OUT)
yellowLed = Pin(13, Pin.OUT)
If you want to manually enabled/disable or toggle the code is as simple as:
redLed.high()
yellowLed.low()

# redLed.toggle()
The above code turns on the red LED and turns off the yellow, this is what I need when my room is getting too hot to indicate for me to open a window.
I also connected a thermistor, so I can gauge the temperature of the room. To do this I set up a rig where the power goes through the thermistor, out and through a resistor and down to ground. And to connect it to the Pico, I use the ADC2 pin (Analog to digital converter). The code to read this looks like:
from machine import Pin, ADC
thermistor = machine.ADC(28)

print(thermistor.read_u16())
The solution
Now that I’ve got everything hooked up, I’m able to toggle the LEDs and read in the thermistor voltage value, let’s write the code.
Once every second I want my program to check the value of the thermistor to determine whether my room is too hot. If it is too hot then I want to display the red LED, if it’s not too hot display the yellow LED. Note my room is never too cold so I won’t bother with another LED to tell me that 😉.
The code for this looks like the following:
from machine import Pin, Timer, ADC
import utime

# ... pin code removed for brevity
while True:
    reading = thermistor.read_u16() * conversion_factor;
    if (reading > MAX_TEMP):
        redLed.high()
        yellowLed.low()
    else:
        redLed.low()
        yellowLed.high()
    utime.sleep(1)
So now when the room gets too hot I will be warned, as you can see in the video below where I’m holding the thermistor to heat it up.
Conclusion
The moral of the story here is double check what you buy on Amazon, the checkout process is so fast it’s easy to cock up. But if you do cock up, at least have fun with what you’ve bought.
I certainly didn’t plan on writing this blog, but I had fun anyway.
I hope you enjoyed this blog, don’t forget to sign up to the newsletter – Be the first to hear when we release new content, participate in weekly coding challenges, listen to more of my drivelling.
[…] I hope you enjoyed this blog, don’t forget to sign up to the newsletter – Be the first to hear when we release new content, participate in weekly coding challenges, listen to more of my drivelling. If you like the Raspberry PI content, check out my previous blog on the Pico. […]
[…] I hope you enjoyed this blog, don’t forget to sign up to the newsletter – Be the first to hear when we release new content, participate in weekly coding challenges, listen to more of my drivelling. If you like the Raspberry PI content, check out my previous blog on the Pico. […]